

Training 3: Spot and Report Phishing
Key points
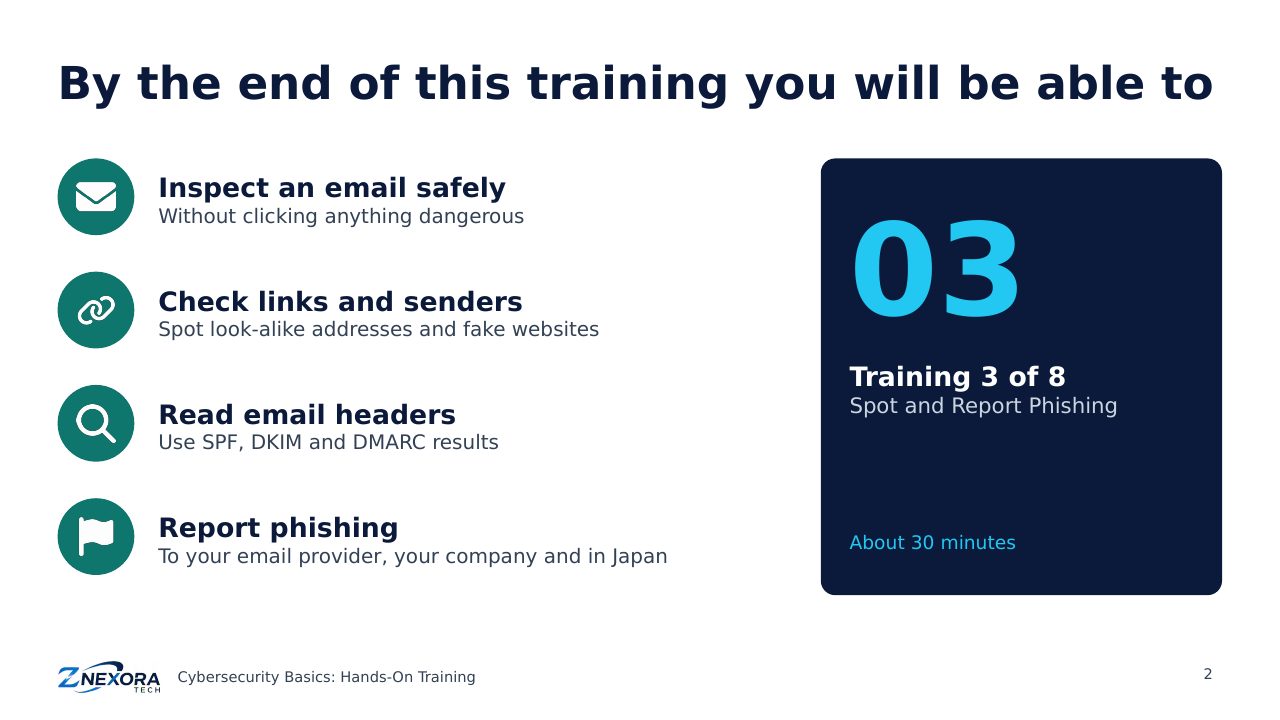
Hands-on: inspect a suspicious email safely, check the sender, links and attachments, read the technical headers, and report phishing, including in Japan.
Hands-on training · Cybersecurity Basics: Hands-On Training · Training 3 of 8 · About 30 minutes
Phishing is still the most common way attacks begin. In this training you will learn to inspect a suspicious email safely, without clicking anything dangerous, read the technical evidence in its headers, and report it.
Practise safely: use a suspicious email already in your inbox or spam folder. Never click links or open attachments while practising.
The golden rules
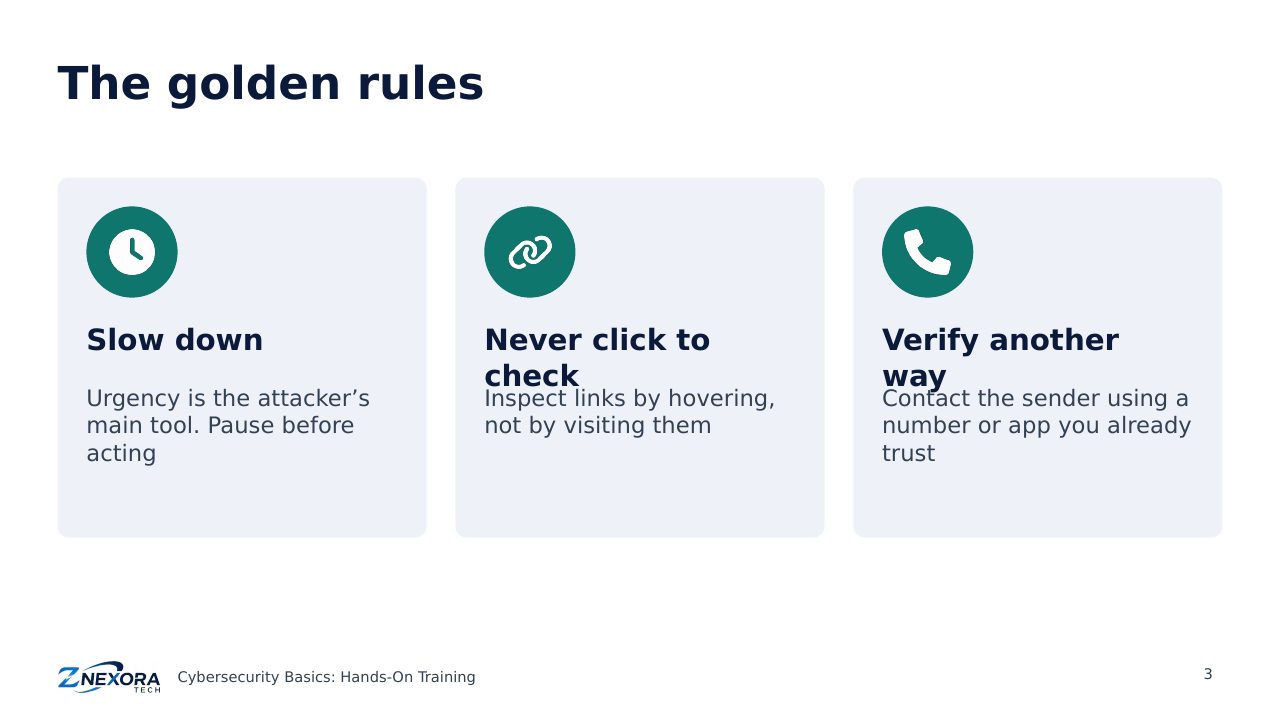
- Slow down. Urgency is the attacker’s main tool, so pause before acting.
- Never click to check. Inspect links by hovering over them, not by visiting them.
- Verify another way. Contact the sender using a phone number, website or app you already trust, never the details in the email.
The 5-step email check
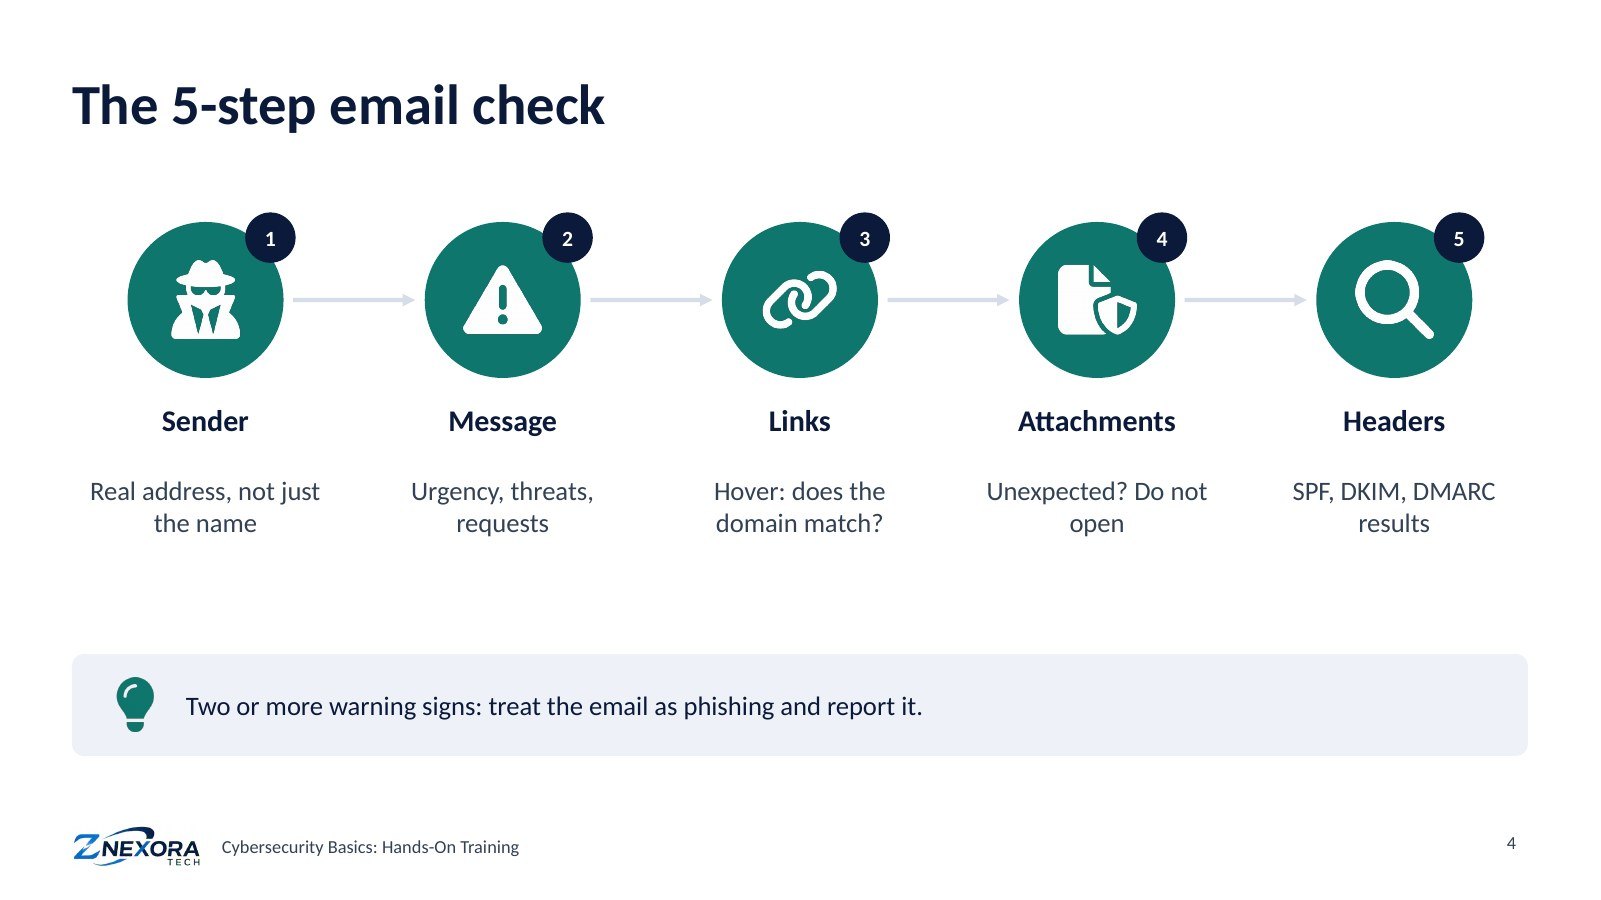
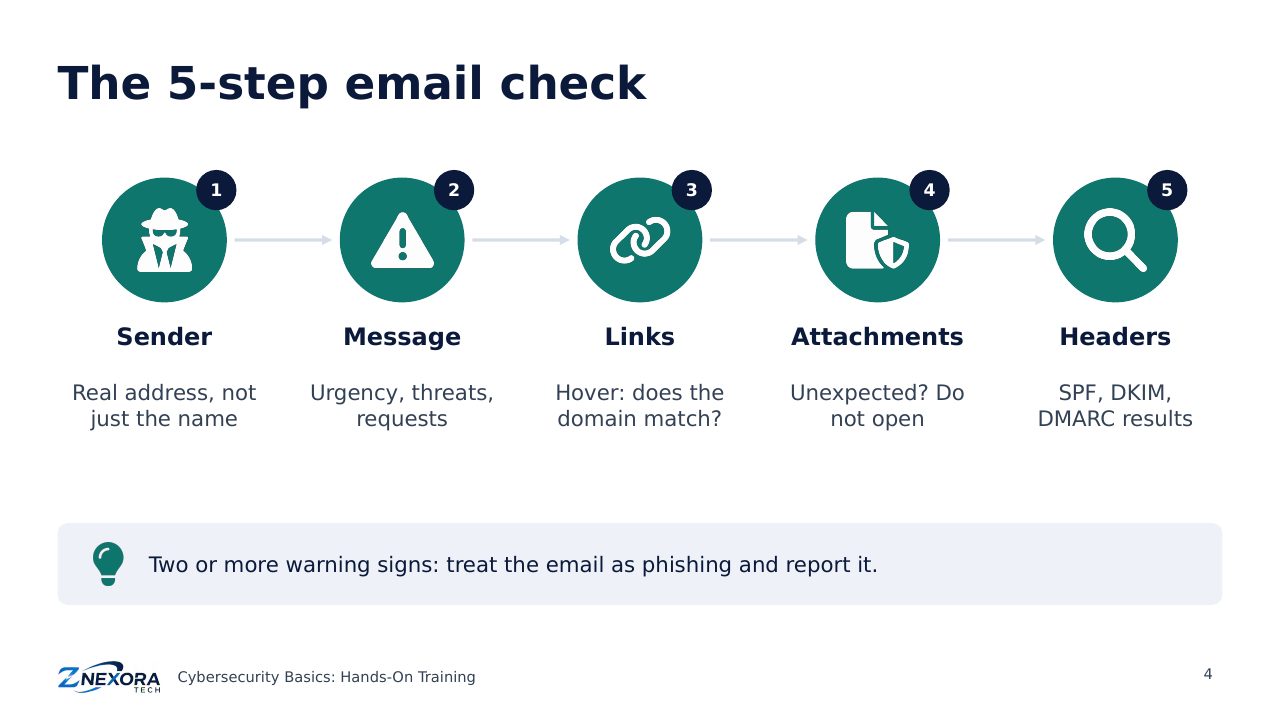
- Sender: look at the full email address, not just the display name. Attackers can show any name they like.
- Message: watch for urgency (“within 24 hours”), threats (“your account will be closed”) and unusual requests (passwords, payments, gift cards).
- Links: hover your mouse over each link (on a phone, press and hold) and read the real address. Does the domain belong to the company?
- Attachments: do not open unexpected attachments, especially Office files asking you to “enable content”, or compressed and HTML files.
- Headers: check the authentication results (Step 5 below).
If you find two or more warning signs, treat the email as phishing.
Real or fake? Check the address
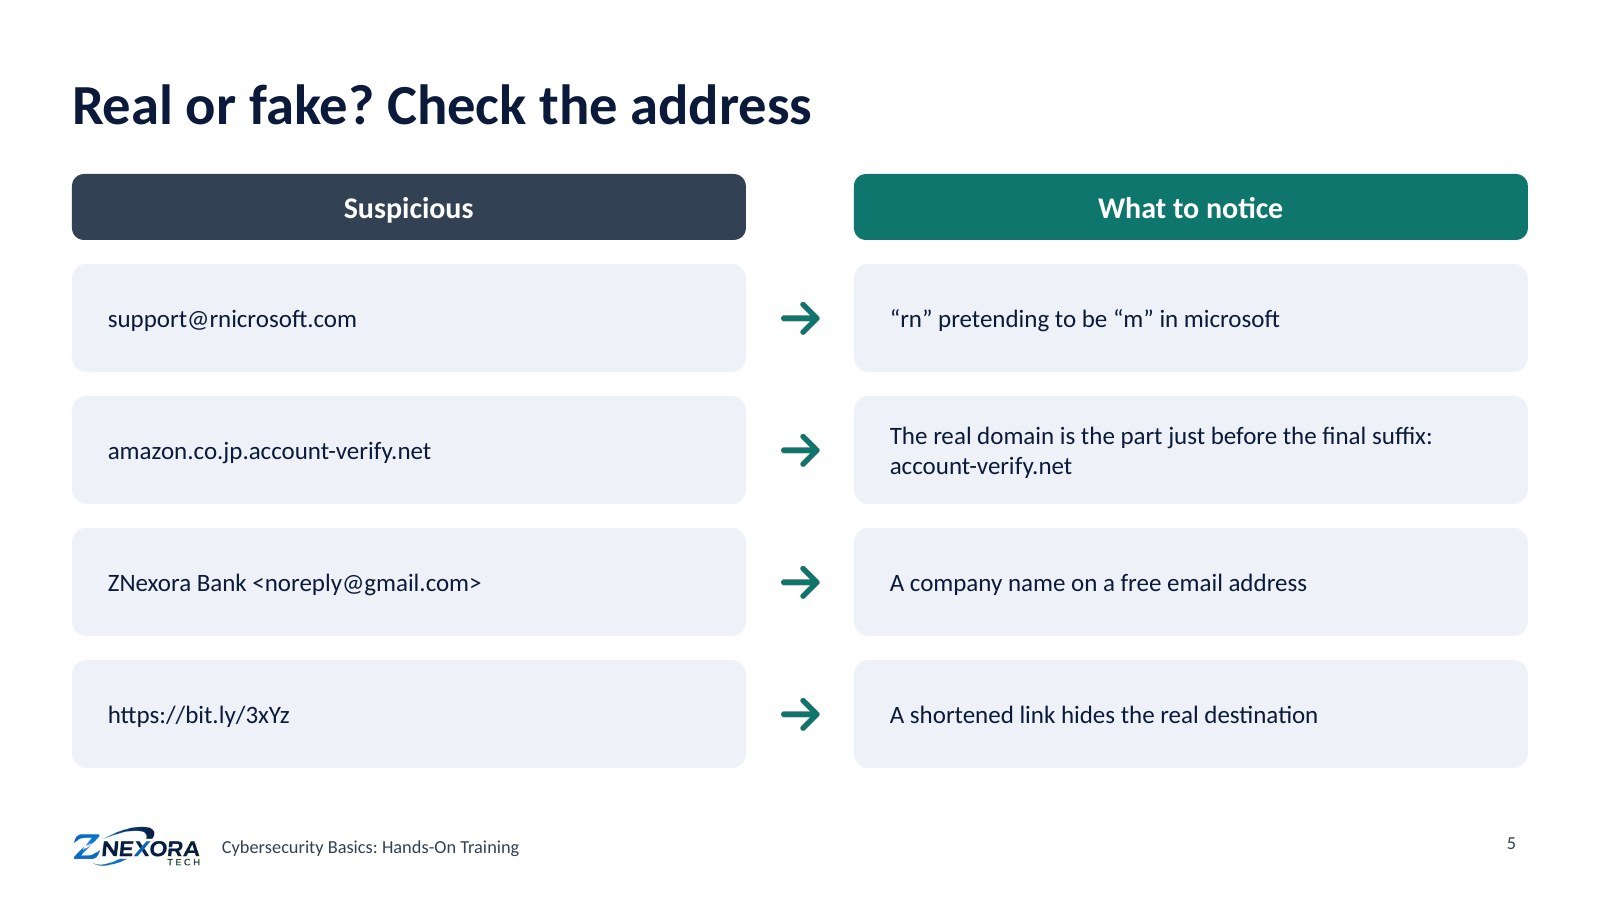
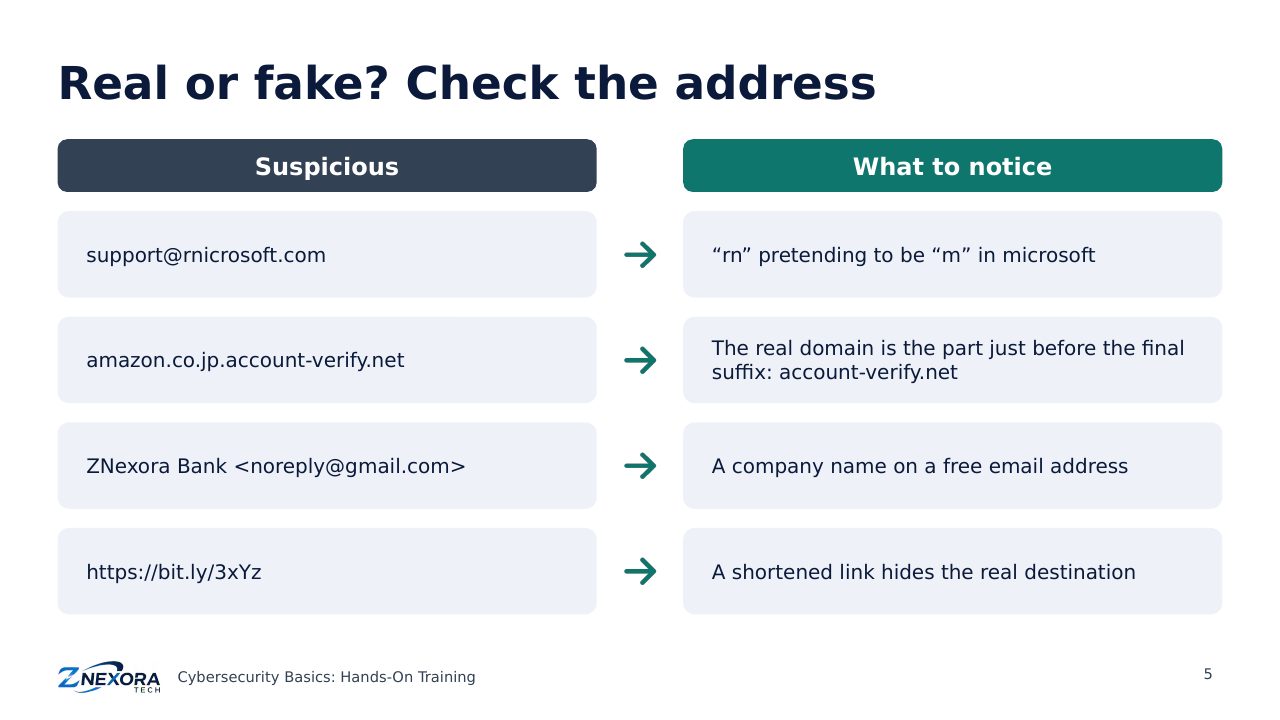
- support@rnicrosoft.com: the letters “rn” pretend to be “m” in microsoft.
- amazon.co.jp.account-verify.net: the real domain is the part just before the final suffix, here account-verify.net, not amazon.co.jp.
- ZNexora Bank noreply@gmail.com: a company name on a free email address.
- https://bit.ly/3xYz: a shortened link hides the real destination.
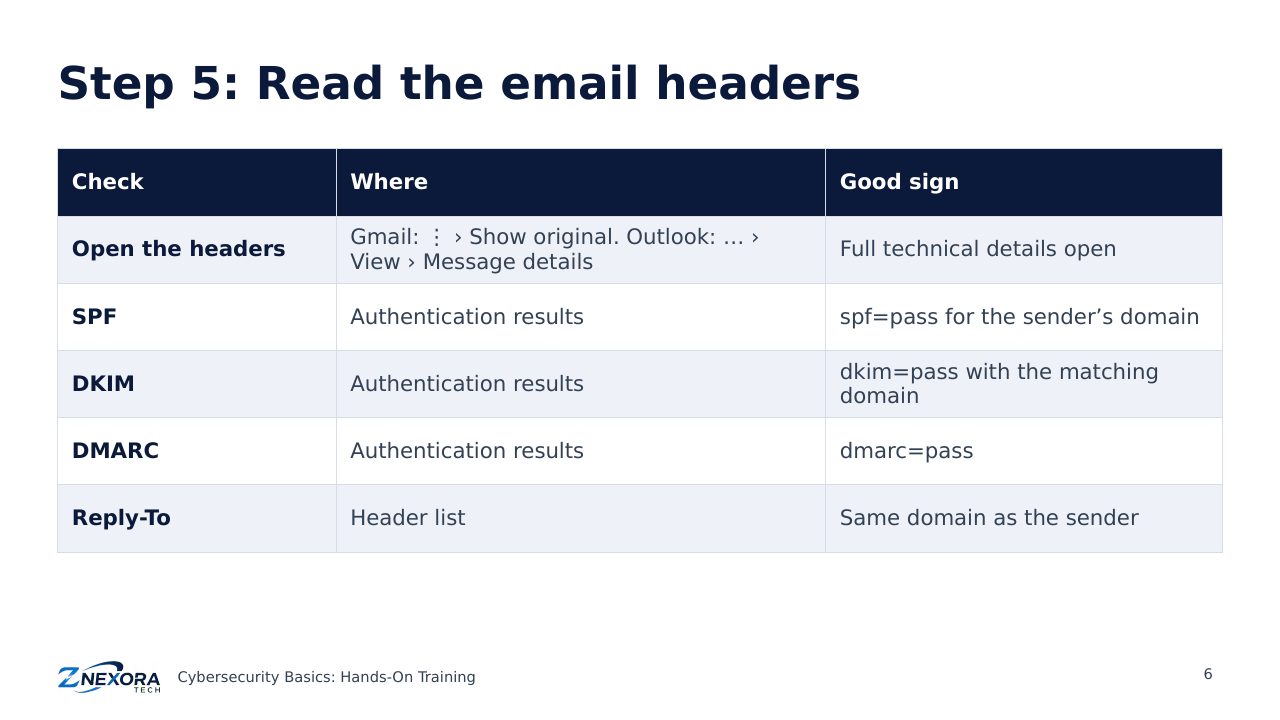
Step 5: Read the email headers
Email headers contain the technical evidence of where a message really came from.
- Open the headers. In Gmail: ⋮ (More) › Show original. In Outlook: … › View › View message details (names vary by version).
- SPF: checks that the sending server is allowed to send for that domain. Look for spf=pass.
- DKIM: checks the message has a valid digital signature from the domain. Look for dkim=pass with the matching domain.
- DMARC: combines SPF and DKIM to confirm the sender’s domain. Look for dmarc=pass.
- Reply-To: if replies would go to a different domain from the sender, be suspicious.
Failures strongly suggest spoofing. But a pass does not prove an email is safe: attackers can pass these checks using their own look-alike domains, so always combine headers with Steps 1 to 4.
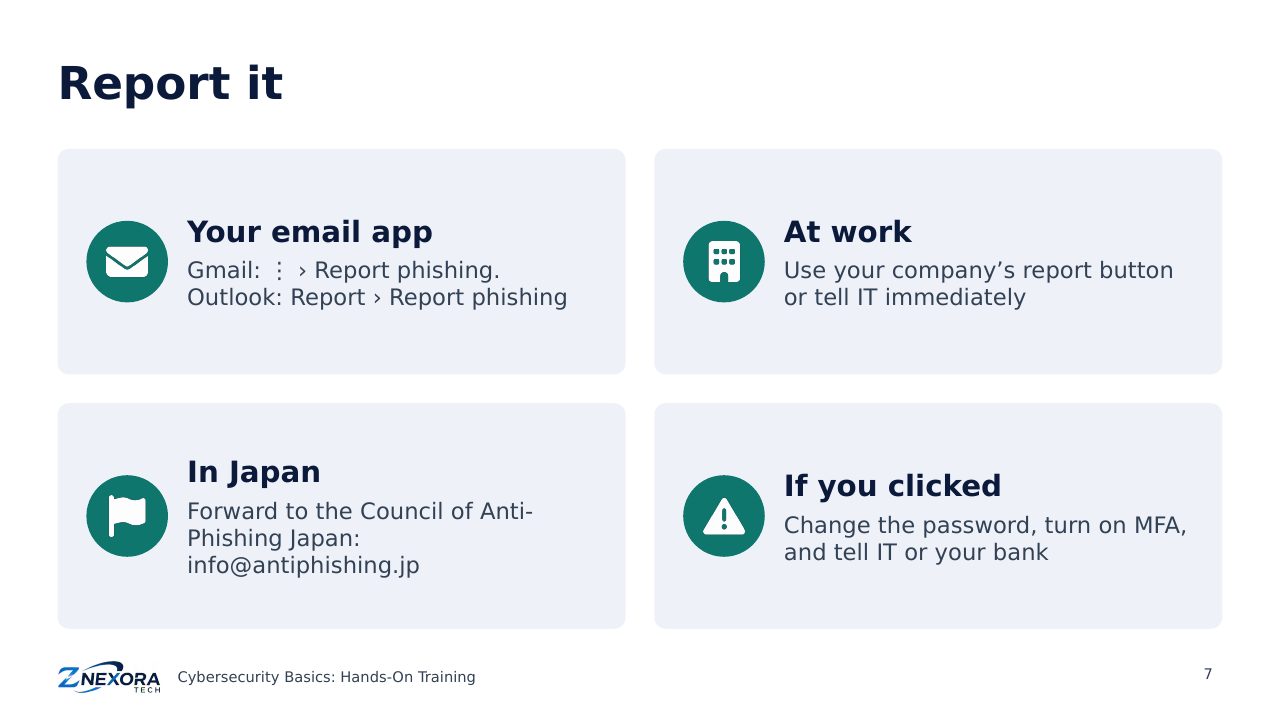
Report it
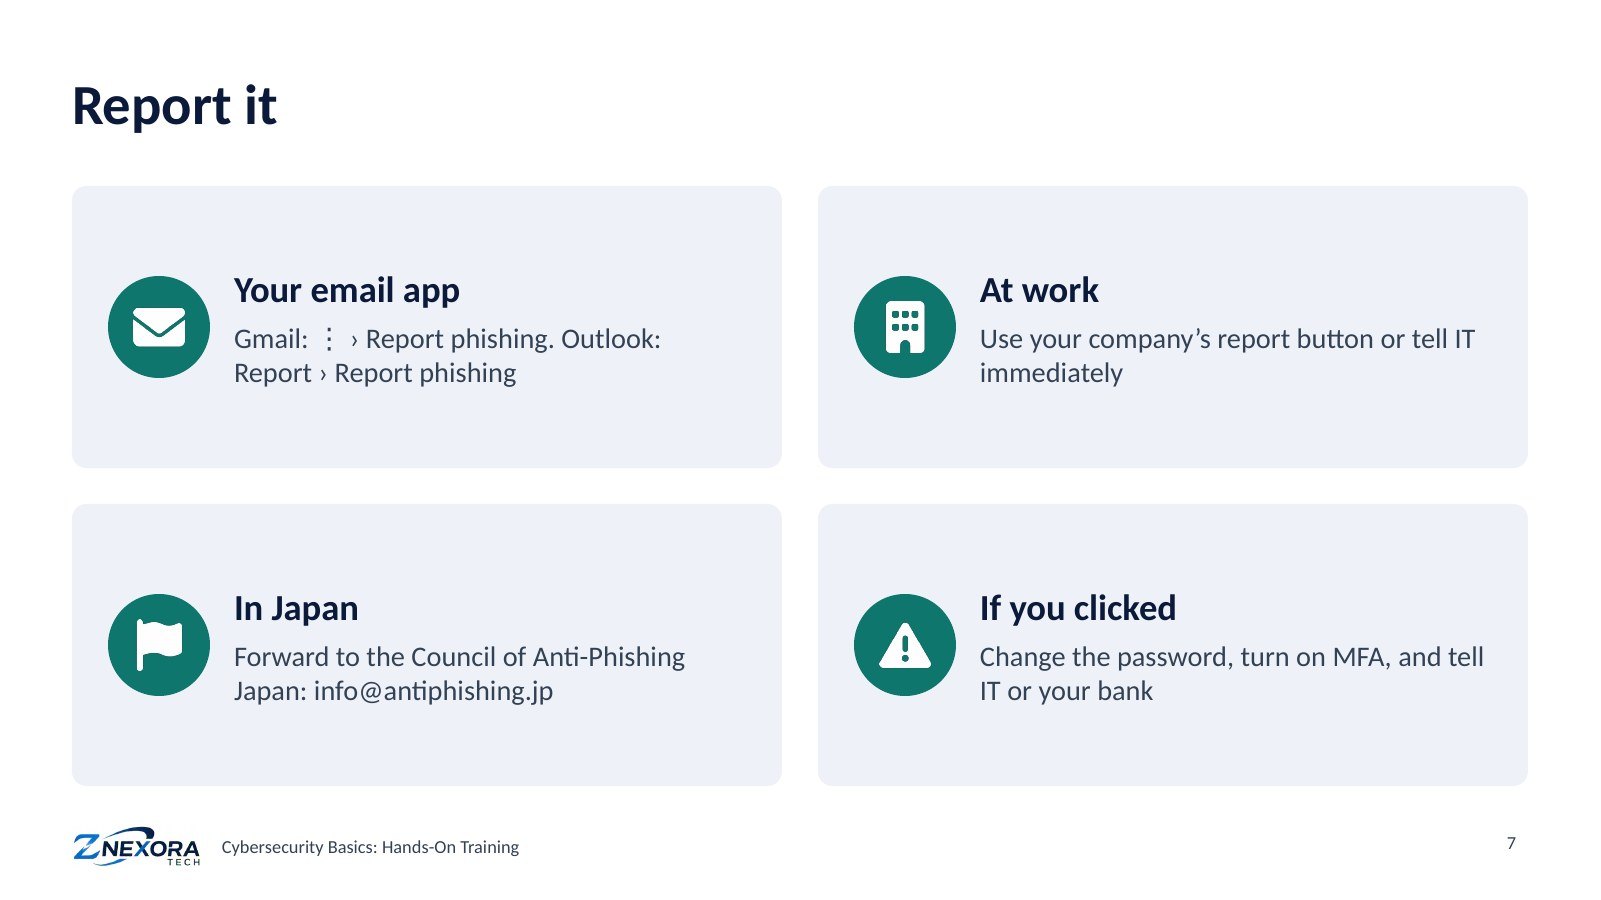
- Your email app: in Gmail, ⋮ › Report phishing. In Outlook, Report › Report phishing. This helps protect other users too.
- At work: use your company’s report button or tell IT immediately. Others may have received the same email.
- In Japan: forward phishing emails to the Council of Anti-Phishing Japan (フィッシング対策協議会) at info@antiphishing.jp.
- If you clicked or entered details: change that password immediately (and anywhere you reused it), turn on MFA, and tell your IT team or bank. If money was involved, contact your bank and the police.
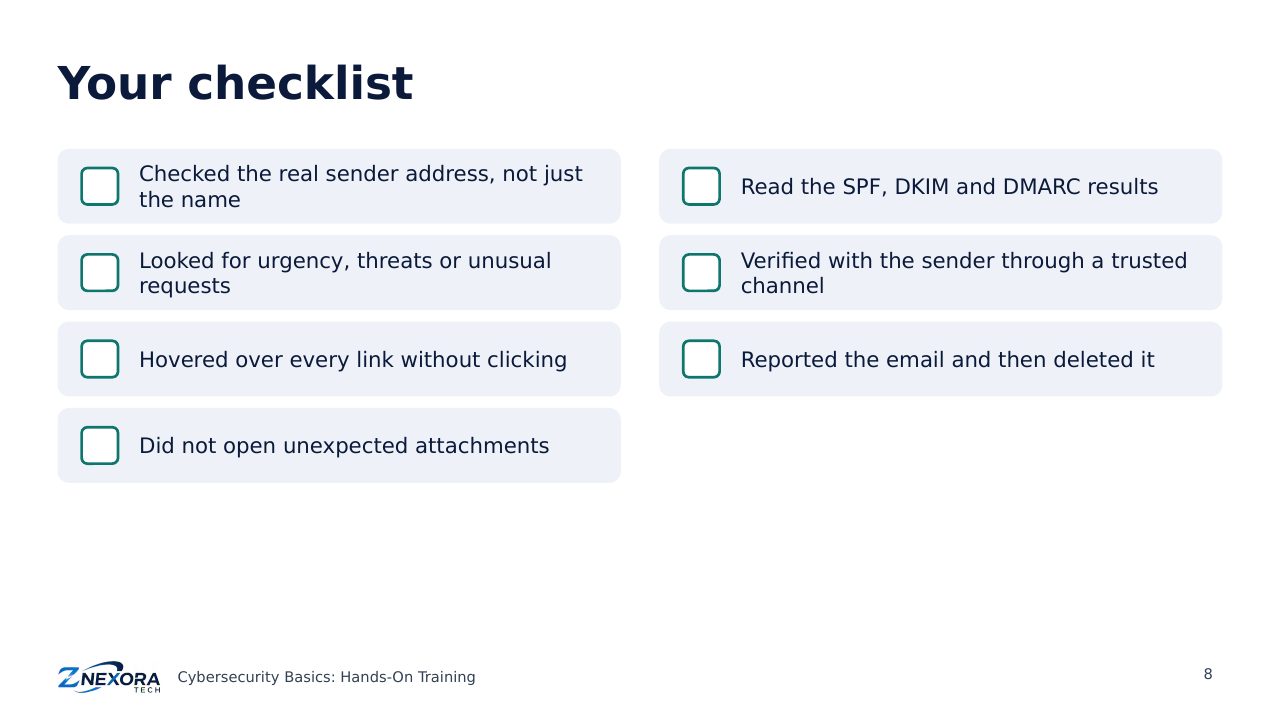
Your checklist
☐ Checked the real sender address, not just the name
☐ Looked for urgency, threats or unusual requests
☐ Hovered over every link without clicking
☐ Did not open unexpected attachments
☐ Read the SPF, DKIM and DMARC results
☐ Verified with the sender through a trusted channel
☐ Reported the email and then deleted it
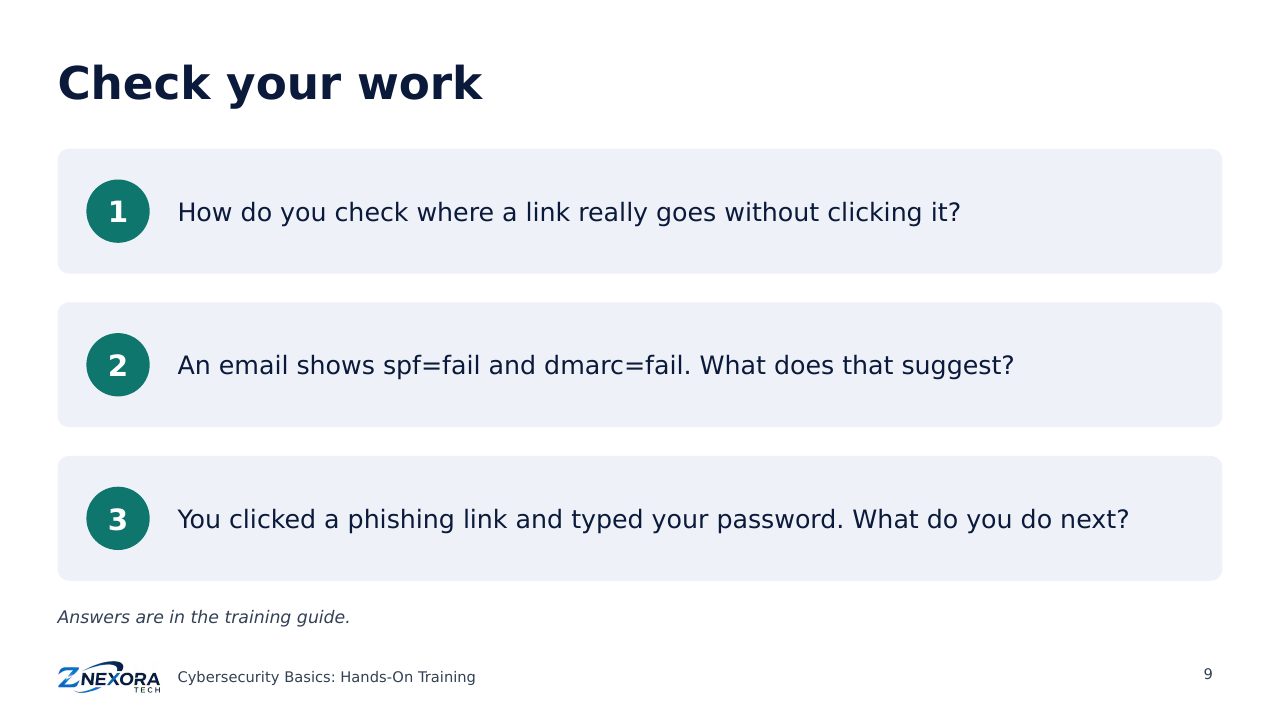
Check your work
- How do you check where a link really goes without clicking it?
- An email shows spf=fail and dmarc=fail. What does that suggest?
- You clicked a phishing link and typed your password. What do you do next?
Answers: 1. Hover over it (or press and hold on a phone) and read the real address. 2. The sender is probably spoofing the domain. 3. Change the password immediately and anywhere you reused it, turn on MFA, and report it to IT or your bank.
Next: Training 4 · Back Up Your Data. Set up the 3-2-1 backup rule and test a restore.
Slides
Thank you for reading!
Let’s continue to build a safer and more trustworthy digital future together.
Follow ZNexora Tech
Stay curious. Stay secure. Stay ahead.